
Instructions
1. Select the Responsible Party by clicking the radial circle at the beginning of the row.
- Responsible Parties are alphabetized by Description. You can reverse sort by clicking the "Description" column header. Scroll down the page to find the Party.
- Use the "Search" field in the upper right hand corner to narrow your choices.
- Use the "Filter" drop-down to display "All," "Active Only," or "Inactive Only."
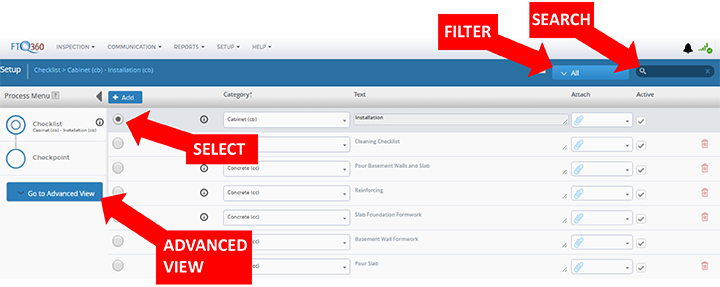
2. Select “Checkpoint” from the Process Menu.
3. Select the specific "Checkpoint" you want to edit.
- You can scroll down or use the Search Field in the upper right hand corner of the menu bar to filter your choices.

4. Code: Enter a "Checkpoint Code" from scheduling or accounting records, or use the default code generated by the system.
5. Insp.: Restrict the view of a checkpoint to one position, making it an "Inspector Restricted Checkpoint." To do this, use the drop-down menu to select an "Inspector Type." Leave the field set to "All" for no restrictions.
6. R - This is a "Risk Factor" field. Default is "1," but you can use your company's scale to denote the urgency or gravity of the checkpoint.
7. Click the "Save" button to save your new checkpoint.
Comments
0 comments
Please sign in to leave a comment.